Master the Command Line: A Beginners Guide to Terminal Basics

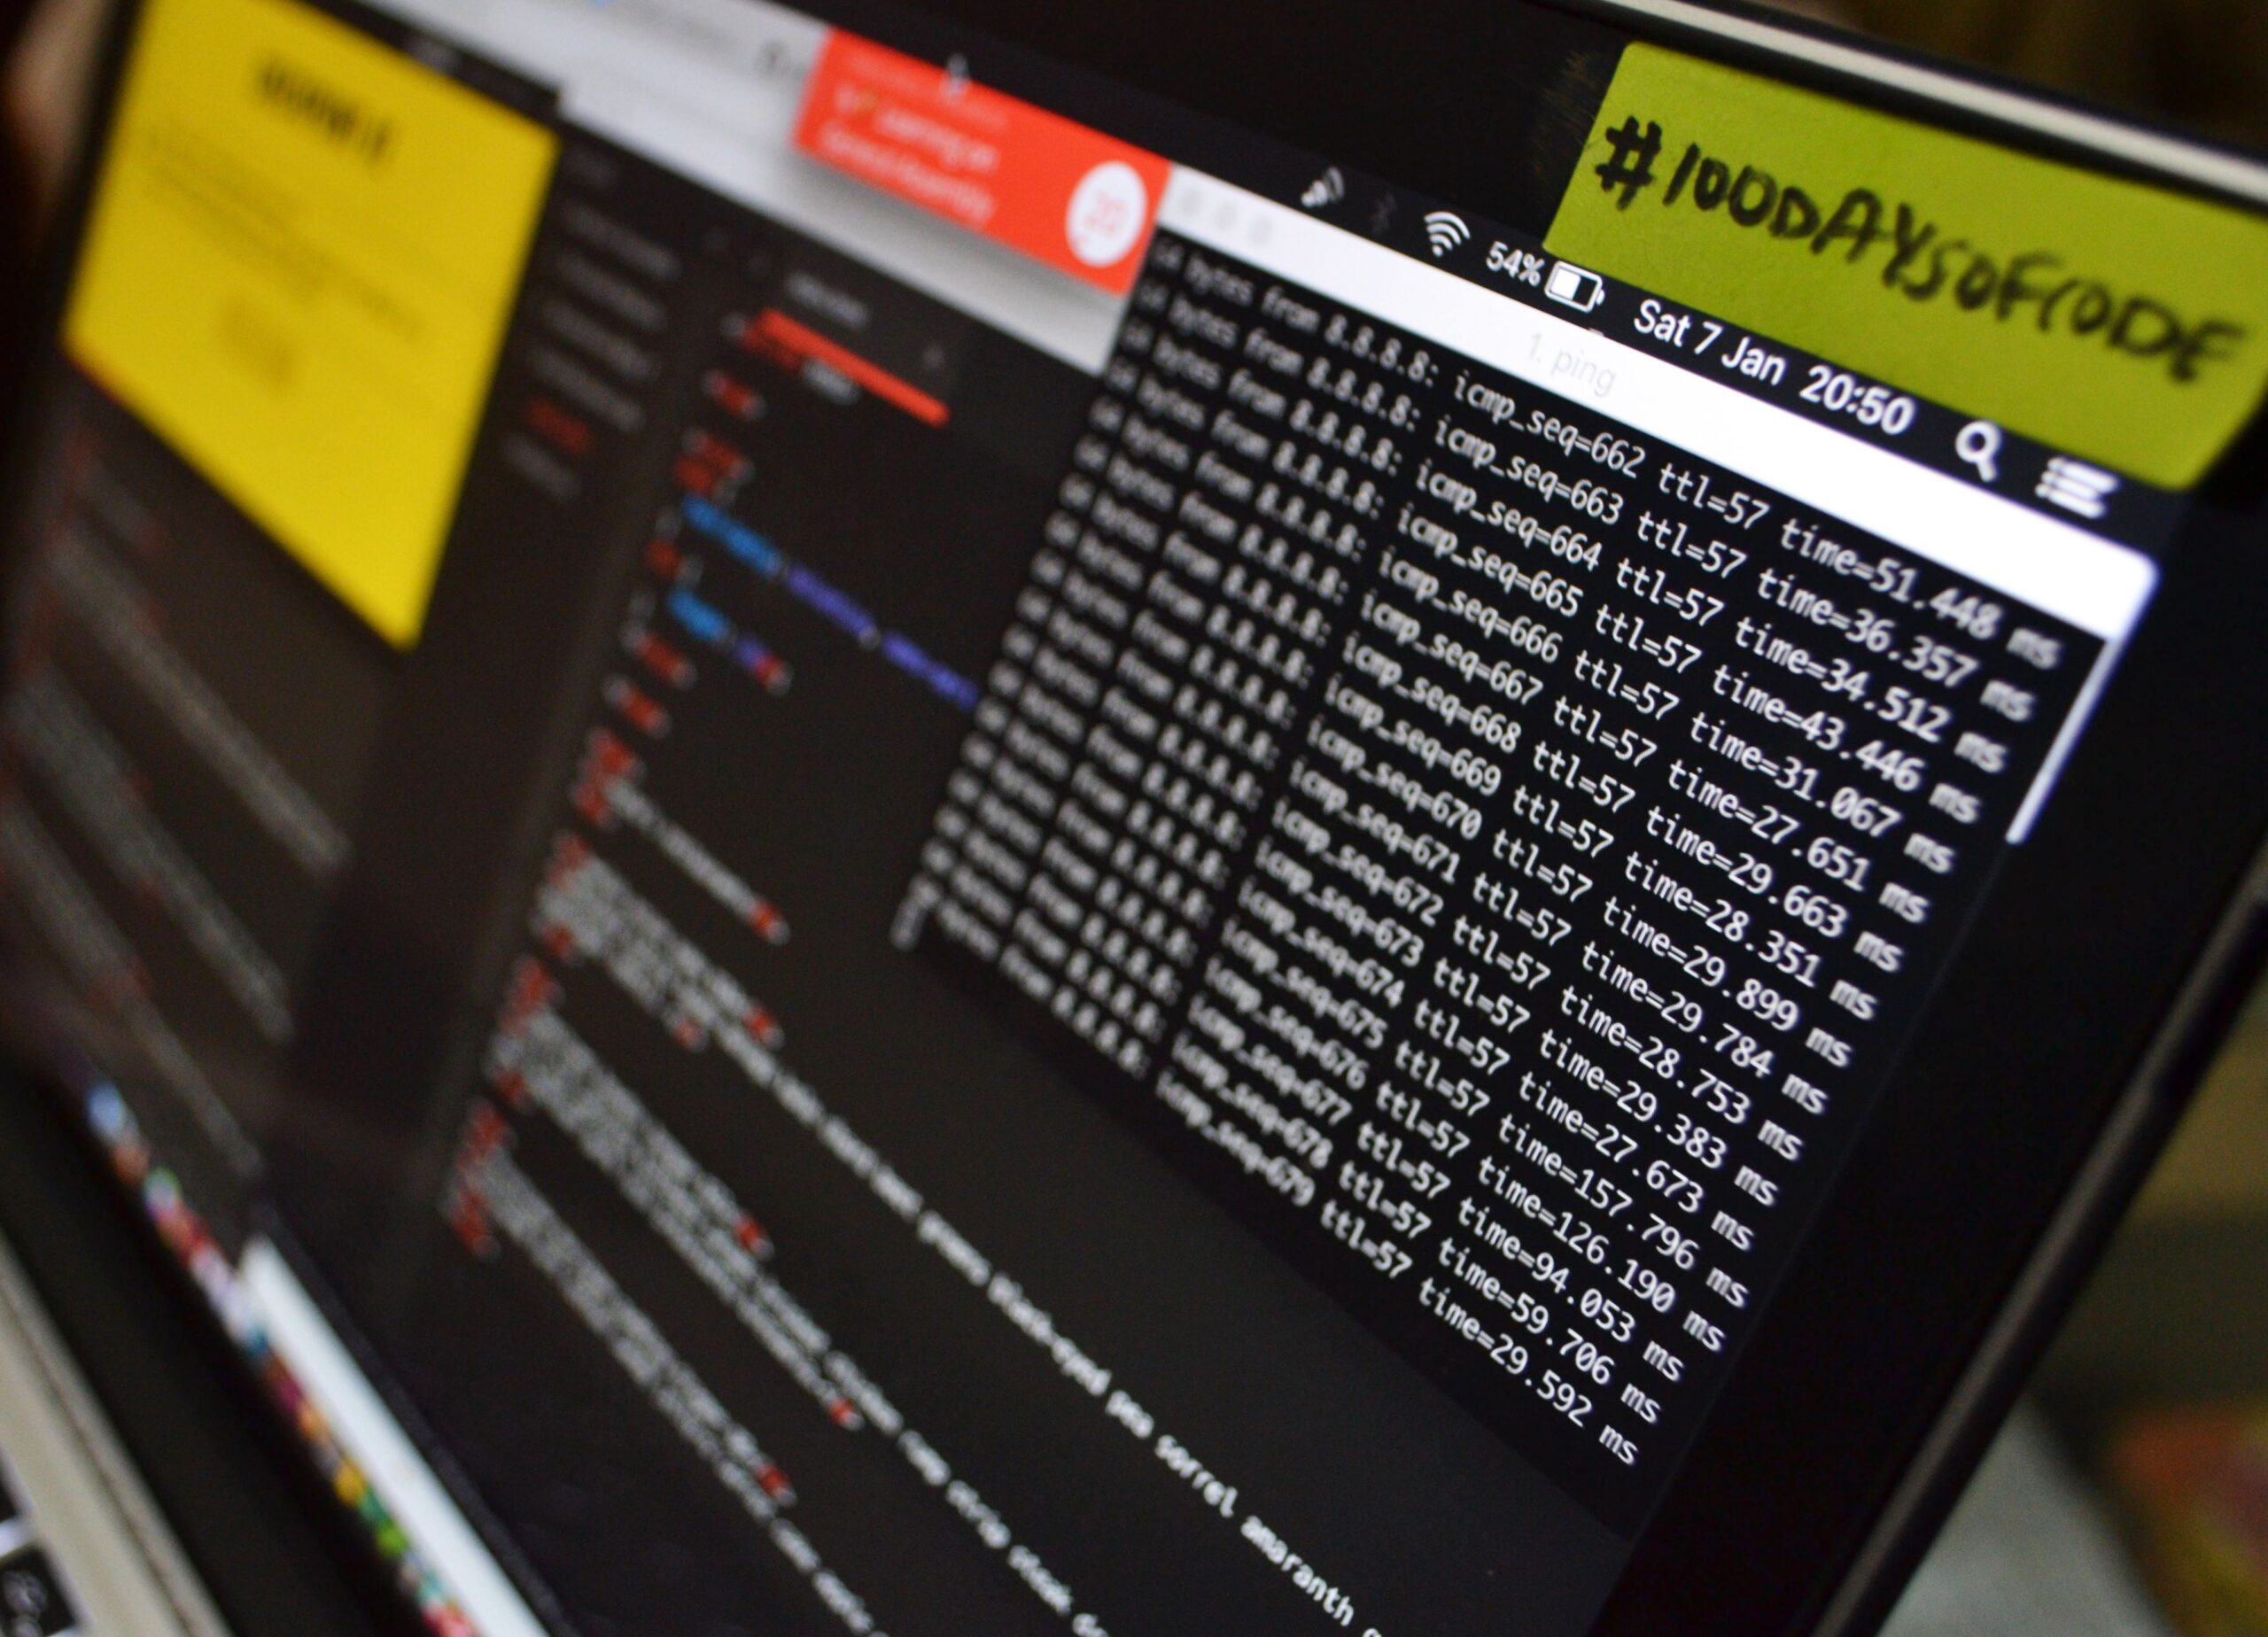
What Is the Command Line and Why Should You Care?
The command line, also known as the terminal or shell, is a text-based interface that allows users to interact directly with their computer’s operating system. Unlike graphical user interfaces (GUIs) that rely on windows, icons, and mouse clicks, the command line processes typed commands to perform tasks. While it may appear intimidating at first, mastering the terminal unlocks unparalleled speed, automation, and control. Developers, system administrators, and data scientists rely on it daily for file management, software installation, version control, and server administration. According to a 2026 Stack Overflow survey, over 70% of professional developers use the command line weekly. Understanding terminal basics is not just a skill—it is a gateway to deeper computational literacy.
Getting Started: Opening Your Terminal
Every operating system provides a terminal application. On macOS, open Terminal from Applications > Utilities. On Linux, press Ctrl + Alt + T or search for Terminal. Windows users have several options: the native Command Prompt, PowerShell (more advanced), or the Windows Subsystem for Linux (WSL) —which installs a full Linux environment. For this guide, we focus on Unix-like commands (Bash, Zsh), which work identically on macOS, Linux, and WSL.
Once open, you will see a prompt—text like user@computer:~$. This indicates the system is ready for input. The tilde (~) represents your home directory.
Understanding the File System Hierarchy
The terminal navigates a hierarchical file system. At the top is the root directory, denoted by a forward slash (/). Below it are system directories (/bin, /etc, /var) and user directories (/home/username on Linux, /Users/username on macOS). Your current working directory is where commands execute by default. Knowing your location is critical—you can check it anytime with the pwd (print working directory) command.
Essential Navigation Commands
pwd – Where Am I?
Typing pwd returns the full path of your current directory. Example output: /Users/john/Documents. This command is your compass; use it whenever you feel disoriented.
ls – What’s Here?
The ls command lists files and folders. Basic usage:
ls: Lists items in the current directory.ls -l: Displays detailed information (permissions, size, modification date).ls -a: Shows all files, including hidden ones (those starting with a dot).ls -lh: Combines long format with human-readable file sizes.
cd – Let’s Move
cd (change directory) is your primary navigation tool:
cd Documents: Moves into theDocumentsfolder.cd ..: Moves up one directory level.cd ~: Returns to your home directory.cd /: Jumps to the root directory.cd -: Switches to the previous directory.
Pro Tip: Press Tab to auto-complete directory and file names—this saves keystrokes and prevents typos.
Manipulating Files and Directories
mkdir – Create Folders
mkdir projects creates a folder named projects. Use mkdir -p projects/2024/reports to create nested directories in one command.
touch – Create Files
touch index.html creates an empty file. You can also update the timestamp of an existing file.
cp – Copy Files
cp source.txt destination.txt: Copies a file.cp -r source_folder destination_folder: Copies entire directories recursively.
mv – Move or Rename
mv oldname.txt newname.txt: Renames a file.mv file.txt ~/Documents/: Moves a file to another directory.
rm – Remove Files and Directories
Warning: Deletion is permanent—no trash bin.
rm file.txt: Deletes a file.rm -r folder: Removes a directory and all its contents.rm -rf folder: Forcefully removes without confirmation (use with extreme caution).
Viewing and Editing File Content
cat – Quick Peek
cat readme.txt prints the entire file content to the terminal. Useful for short files.
less – Scroll Through Large Files
less logfile.log opens a file page by page. Press Space to scroll down, b to go back, and q to quit.
head and tail – Preview Beginnings and Endings
head -n 20 data.csv: Shows the first 20 lines.tail -f error.log: Displays the last few lines and updates in real-time (great for monitoring logs).
nano – Simple Text Editor
Typing nano notes.txt opens a basic editor directly in the terminal. Use Ctrl + O to save, Ctrl + X to exit. For more power, learn vim or emacs later.
Searching and Finding Things
grep – Search Within Files
grep "error" system.log finds every line containing “error”. Combine with options:
grep -i "error": Case-insensitive search.grep -r "TODO" .: Recursively searches all files in the current directory.grep -c "failed": Counts matching lines.
find – Locate Files
find . -name "*.jpg" searches the current directory and subdirectories for all JPEG files. Use find / -type d -name "config" to find directories named “config” system-wide (requires sudo on protected areas).
Working with Permissions and Ownership
Every file and directory has permissions represented by a string like -rw-r--r--. The first character indicates type (- for file, d for directory). The next nine characters split into three groups: owner, group, and others. Each group has three bits: read (r), write (w), execute (x).
chmod 755 script.sh: Sets permissions to rwxr-xr-x (owner full, others read/execute).chmod +x script.sh: Adds execute permission.chown user:group file.txt: Changes owner and group.
Superuser Power: Using sudo
Certain system commands require administrator privileges. Prefix them with sudo:
sudo apt update(Linux) orsudo brew upgrade(macOS with Homebrew).sudo -iopens a root shell (use sparingly).
Security Rule: Never run sudo on commands you do not fully understand.
Pipes and Redirection: Chaining Commands
The true power of the command line emerges when you connect commands.
Pipes (|)
Send output from one command as input to another:
ls -la | grep "2026": Lists files and filters for “2024”.ps aux | grep nginx: Finds all processes related to nginx.
Redirection (>, >>, <)
echo "Hello" > file.txt: Writes output to a file (overwrites).echo "World" >> file.txt: Appends output to a file.sort < input.txt: Reads from a file and sorts its contents.
Real-World Example
cat access.log | grep "404" | head -10 > errors.txt — searches for 404 errors in a log file and saves the first 10 occurrences.
Environment Variables and the PATH
Environment variables store system configuration. The most important is PATH, which tells the shell where to find executable programs.
echo $PATH: Displays the PATH variable.export MY_VAR="value": Sets a temporary variable.export PATH=$PATH:/new/directory: Adds a directory to PATH (add this to~/.bashrcor~/.zshrcfor permanence).
Managing Processes
ps aux: Lists all running processes.kill PID: Terminates a process by its ID.kill -9 PID: Force kills a stubborn process.toporhtop: Interactive process viewer (installhtopwith package manager for a better interface).
Customizing Your Terminal Experience
Aliases
Create shortcuts for frequent commands by editing your shell configuration file (~/.bashrc or ~/.zshrc):
alias ll='ls -lah'
alias gs='git status'
alias update='sudo apt update && sudo apt upgrade'
Reload with source ~/.bashrc or open a new terminal window.
Prompt Customization
Your prompt can show current directory, git branch, or time. In Zsh, tools like Oh My Zsh offer thousands of themes. A simple Bash customization: export PS1="u@h:w$ " shows user, hostname, and directory.
Package Managers: Installing Software from the Terminal
- Linux (Debian/Ubuntu):
sudo apt install package-name - macOS: Install Homebrew (
/bin/bash -c "$(curl -fsSL https://raw.githubusercontent.com/Homebrew/install/HEAD/install.sh)"), thenbrew install package-name - Windows (WSL): Use
sudo aptas in Linux.
Common Troubleshooting Scenarios
“Command not found”: The program is not installed or not in your PATH. Install it via your package manager or specify the full path, e.g., ./local_script.sh.
“Permission denied”: Add execute permissions with chmod +x script.sh. For system files, try sudo.
Stuck in a program (e.g., less, vim): Press q (quit) or Esc then :q! for vim.
Freezing terminal: Press Ctrl + C to terminate the current process.
Keyboard Shortcuts to Boost Efficiency
Ctrl + C: Kill current processCtrl + D: Exit terminal or end inputCtrl + A: Move cursor to beginning of lineCtrl + E: Move cursor to end of lineCtrl + U: Clear the entire lineCtrl + W: Delete word before cursorCtrl + L: Clear the screen (likeclearcommand)Up/Down Arrow: Navigate command historyCtrl + R: Reverse search through command history
Globbing and Wildcards
Wildcards expand commands to match multiple files:
*: Matches any number of characters (e.g.,*.txtmatches all text files)?: Matches exactly one character (e.g.,file?.txtmatchesfile1.txtbut notfile10.txt)[abc]: Matches any character in brackets (e.g.,file[123].txt)
Example: rm backup-*.log deletes all log files starting with “backup-”.
Automation with Shell Scripts
Combine multiple commands into a text file for reuse. Create a file backup.sh:
#!/bin/bash
DATE=$(date +%Y-%m-%d)
tar -czf backup-$DATE.tar.gz ~/Documents
echo "Backup completed: backup-$DATE.tar.gz"
Make it executable: chmod +x backup.sh. Run it: ./backup.sh. Scripts can include variables, loops, conditionals, and functions—essentially programming for your operating system.
Secure Shell (SSH): Remote Access
SSH connects to remote servers securely:
ssh username@server-ip-address
Key-based authentication is safer than passwords. Generate keys with ssh-keygen -t rsa -b 4096, then copy with ssh-copy-id username@server-ip-address.
Recommended Learning Path
- Week 1: Master navigation (
pwd,ls,cd) and file operations (mkdir,cp,mv,rm). - Week 2: Learn viewing commands (
cat,less,head,tail) and searching (grep,find). - Week 3: Practice pipes, redirection, and environment variables.
- Week 4: Write your first shell script and learn version control with git commands.
- Ongoing: Use the terminal for daily tasks—delete files, navigate projects, read logs. Muscle memory develops through repetition.
Trusted Resources for Further Learning
- Interactive tutorials: Codecademy’s Command Line course, Linux Journey
- Reference:
man command(manual pages) for every command;tldr commandfor simplified examples (installtldr) - Books: “The Linux Command Line” by William Shotts (free online)
- Practice environments: WSL, Replit, or a free AWS EC2 instance